How to Create Raceways
This task details how to create a simple Raceway.
-
Select
 (Raceway).
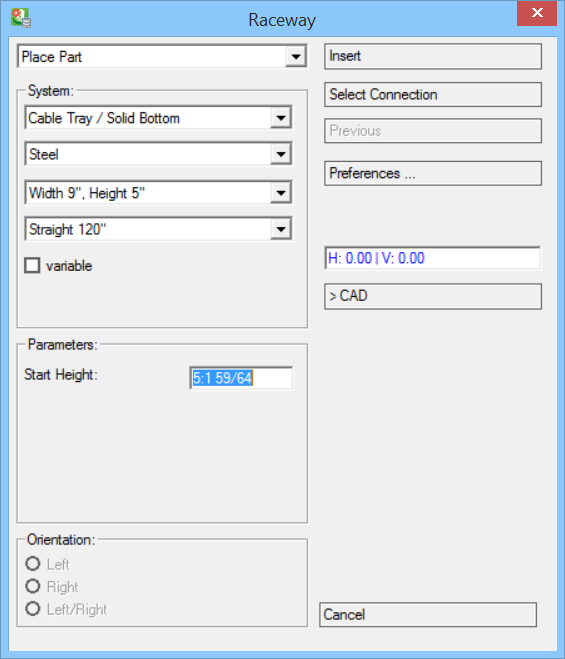
Opens the Raceway dialog.
(Raceway).
Opens the Raceway dialog.
- First, select Raceway System and set the part and dimension to complete Raceway settings. Check Variable to allow creating Raceway component with flexible, user defined sizes. Raceway length is defined by clicking the end data point.
- Click Insert. The Raceway dialog disappears. The focus shifts in the drawing view.
-
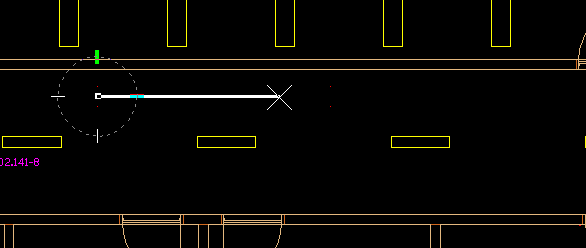
Click a data point in the drawing.
This defines the starting point of the Raceway system. The raceway geometry appears in the view corresponding to the cable system settings. The orientation is based on the cursor position and angle set. Then move your mouse, defining the rotation angle of the Raceway.
Click data point again. The first section of the Raceway system is created. The arrow indicates position for next segment raceway.Also, the Raceways dialog reappears.
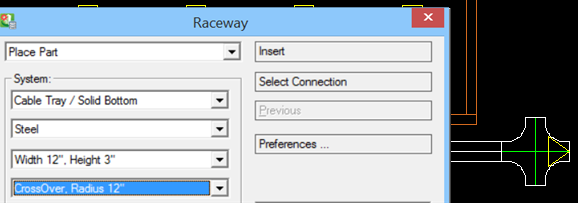
- The Place Part drop down menu now changes to Append Part. Clicking Insert adds more sections to the Raceway system.
- Select different Raceways components in the lowest drop down menu. In the example below, a CrossOver is added to the Raceway.
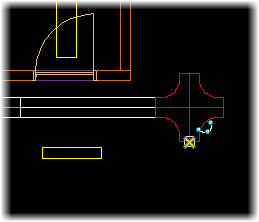
- To append another Straight on the CrossOver going downwards, click Select Connection. The arrow on the CrossOver now points downwards, indicating the new connection point for the Straight.
- Next, click Insert. The Straight is added.
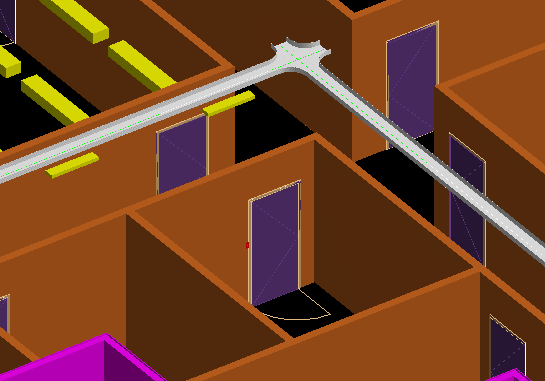
- Repeat the step to add another straight. Another variable Straight added to end of corridor.